The Race for a Roof
I can’t believe it’s taken me 11 weeks to update a blog nobody reads. But, here we are. In fairness the purpose of this blog has only ever been to give me something to look back on when I’m old and gray in like 3 years. It’s also a great excuse to write, which is one of those things I enjoy doing and never do. Unfortunately, there’s not a lot of spare time when you’re framing a house by yourself. And there’s even less leftover energy. I’m incapable of putting together coherent sentences after 6 pm these days, and with winter light in short supply and no electricity on the job site, I need to make the most of my morning hours. Cordless shop lights only get you so far…
But this weekend is different. I’m taking a little extra me time.
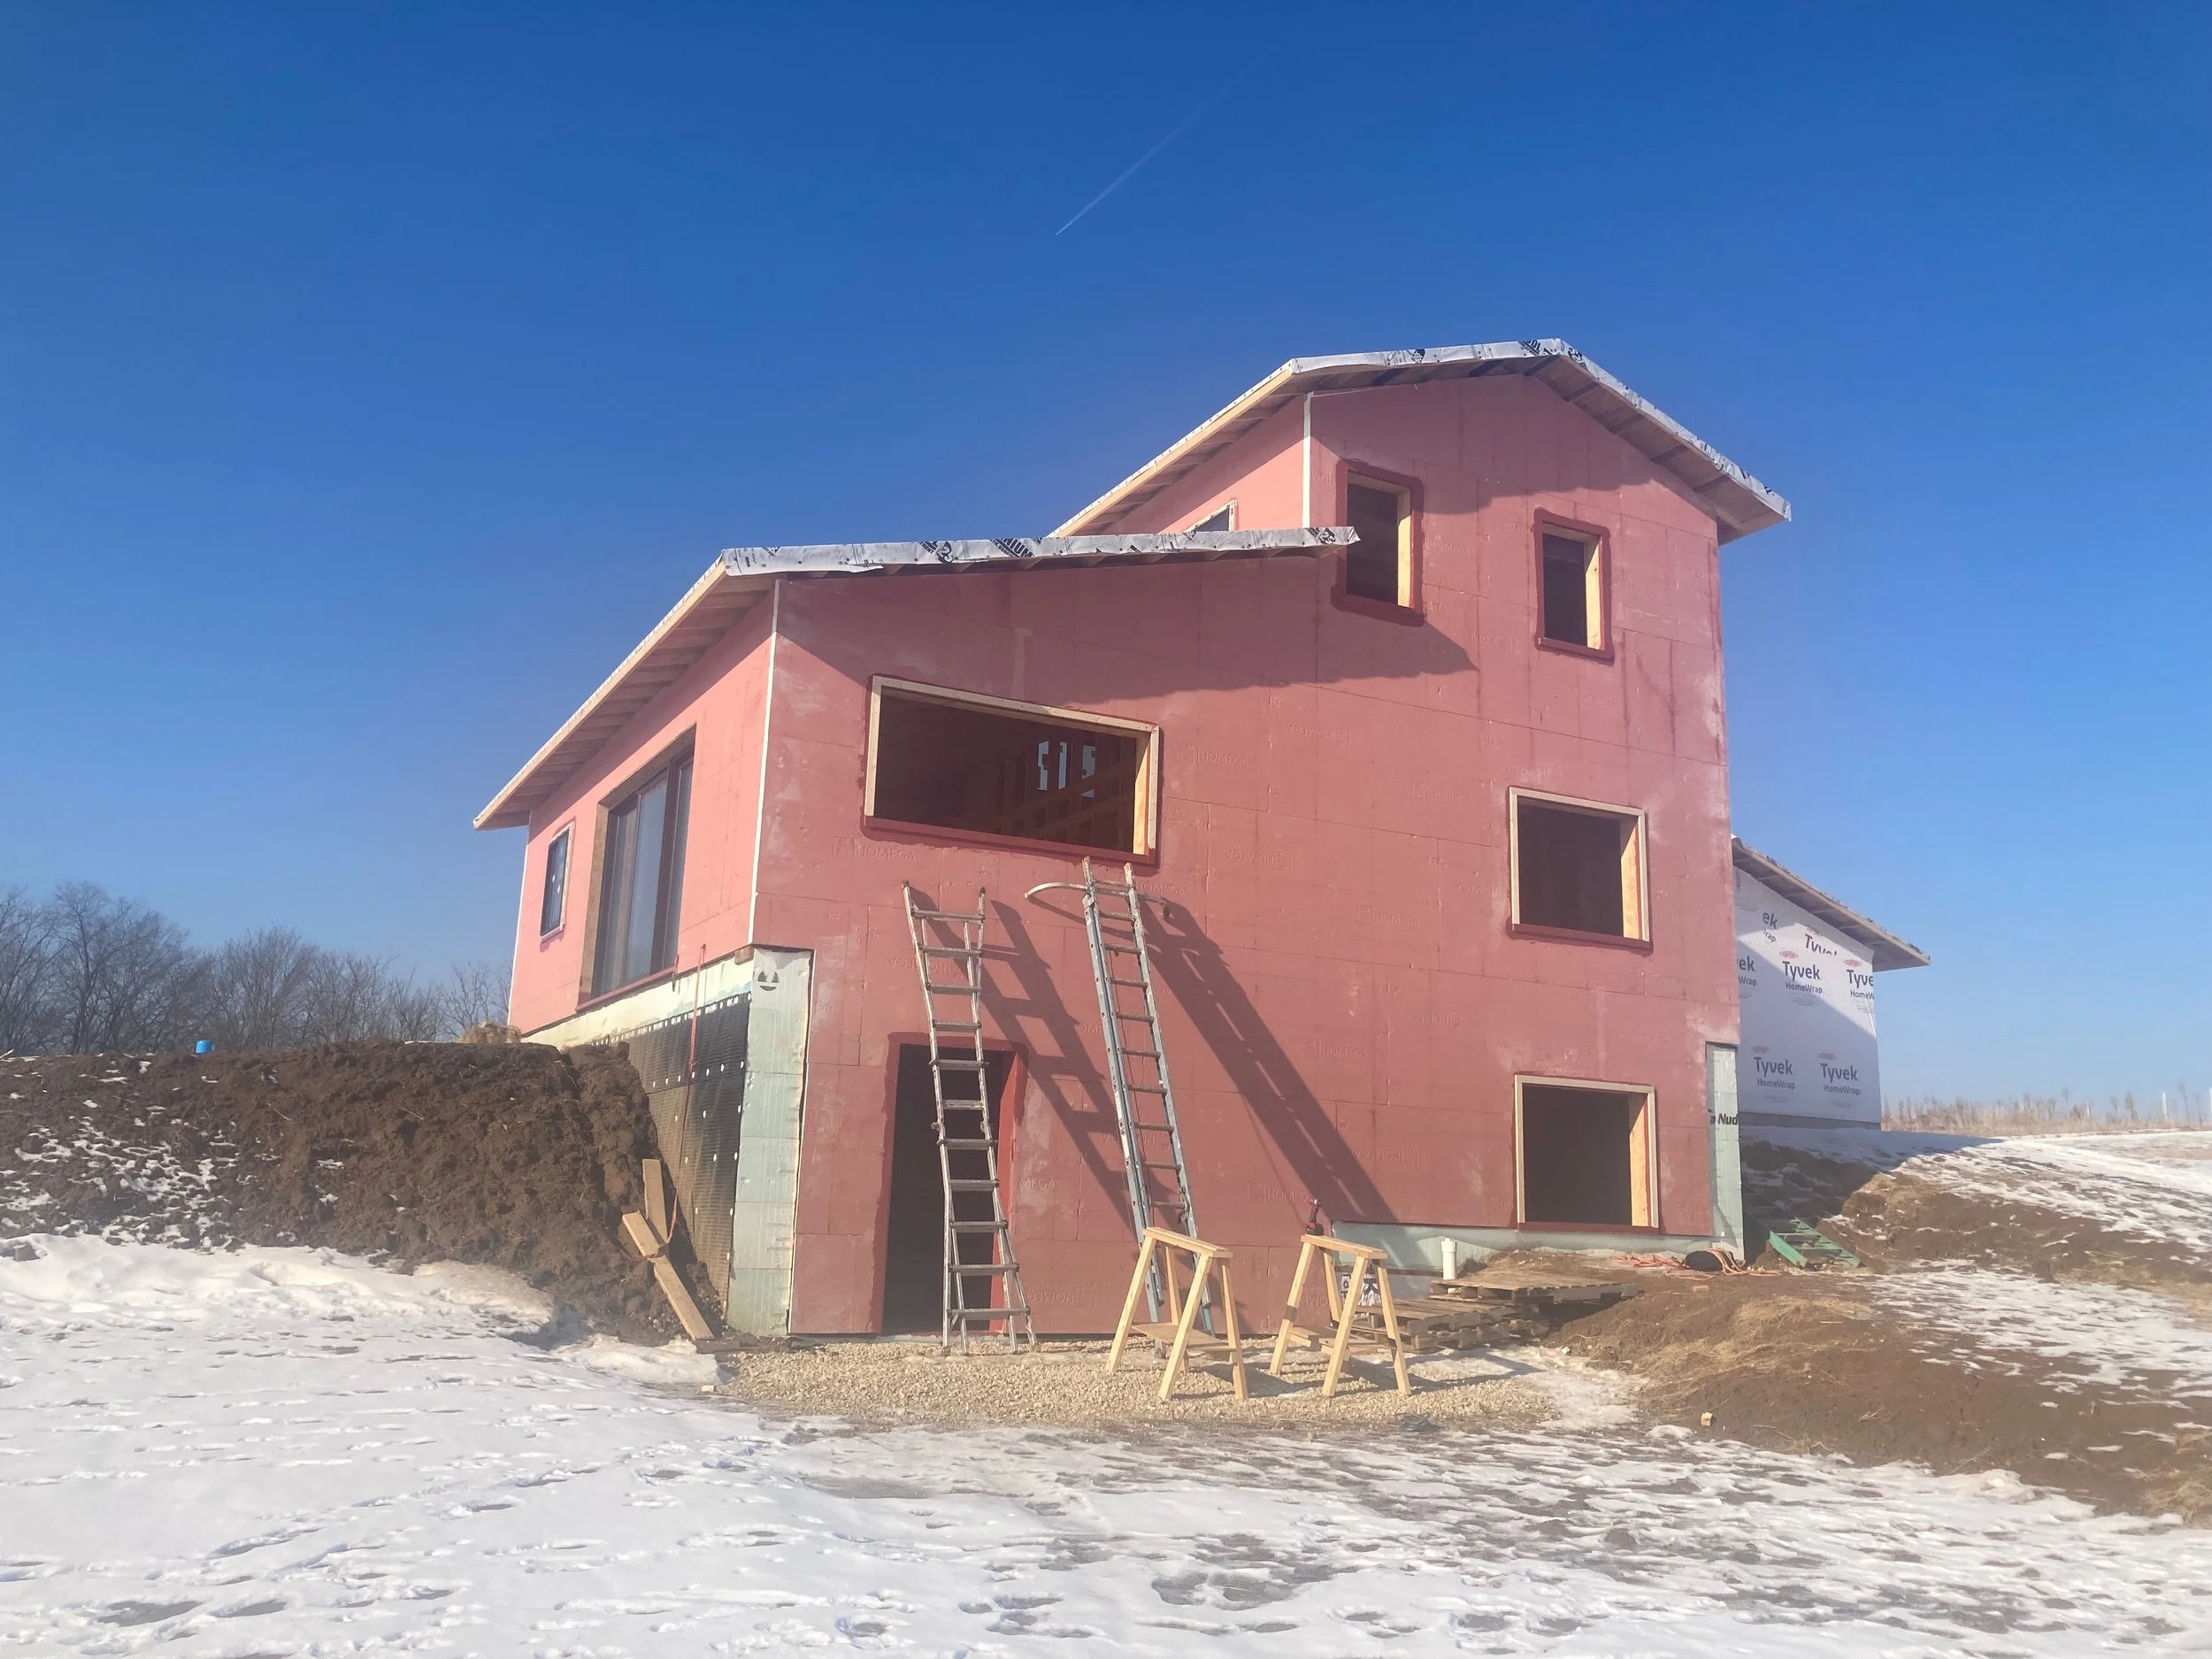
Why? Because we’ve got walls, and a roof. And windows. We’ve even got goddamn doors. We’re officially “dried in”, which means we’ve got a weather-proof envelope, and winter can kiss my ass.


It’s been a big push, a mad dash, and at times a slog to get to this point. It’s taken longer than I’d have liked, but that doesn’t matter, cuz we’re here. As much as I’d love to have been dried in a month ago, weather, more weather, and a visit from the COVID fairy set us back a bit. The silver lining is that our friends/neighbors across the road just went on vacation, so we get to celebrate our accomplishment by staying in a house with a full kitchen and running hot water. So yea, I’m gonna take a few extra minutes today and tomorrow.
Let’s do a quick summary:
After the concrete guys finished their part and poured the garage slab on 10/15/21, it was full steam ahead with framing. I decided to build the garage first, for two reasons. One, it gave me a place to work, stage materials, and get out of the wind/rain. As the camper is in the barn, I can’t really be ripping lumber in there while Dani tries to do important bureaucrat things 15 feet away. The other reason to build the garage first, is it gave me a chance to practice rough carpentry on a much more forgiving structure.

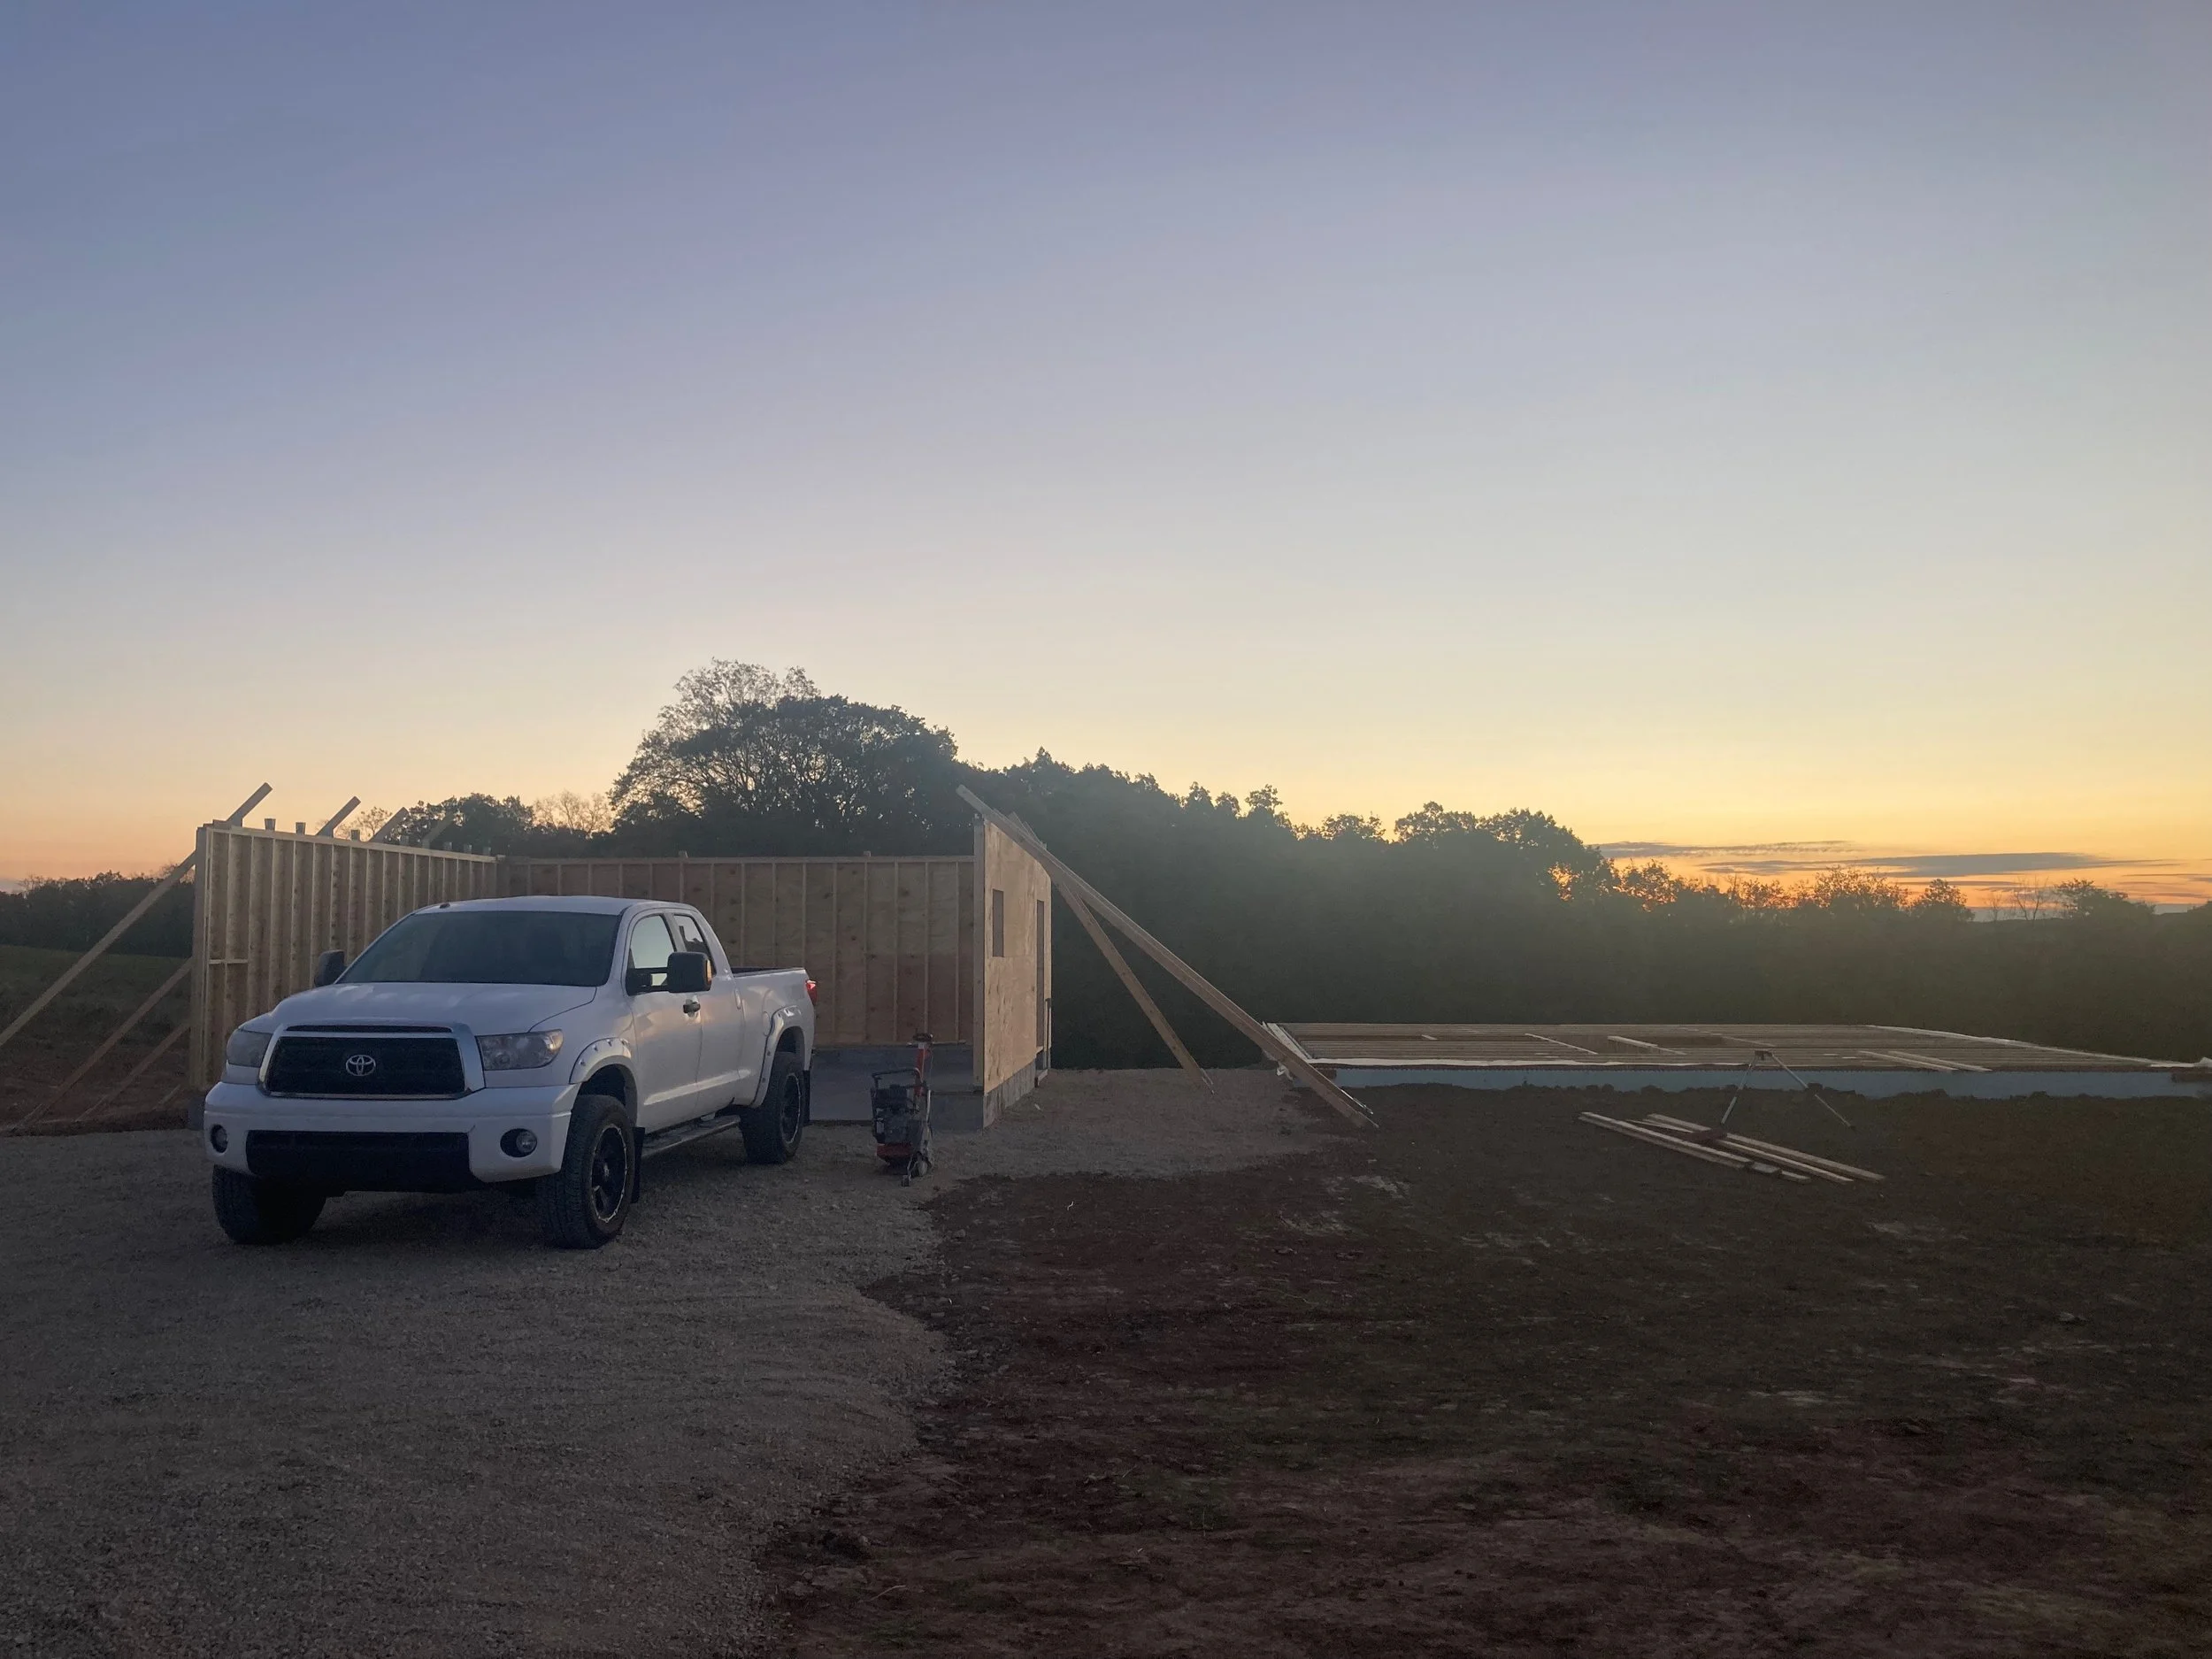


Once the garage was dried in around the first of November, I shifted back over to the house. The basement wall and first story floor framing was in, so I was able to start by putting down the subfloor deck. Once that was in, I laid out the the exterior wall dimensions, snapped lines and start nailing things together. A local carpenter and resident Good Dude, loaned me his wall jacks which made lifting the assembled walls possible by myself, and way easier/safer when I had help.
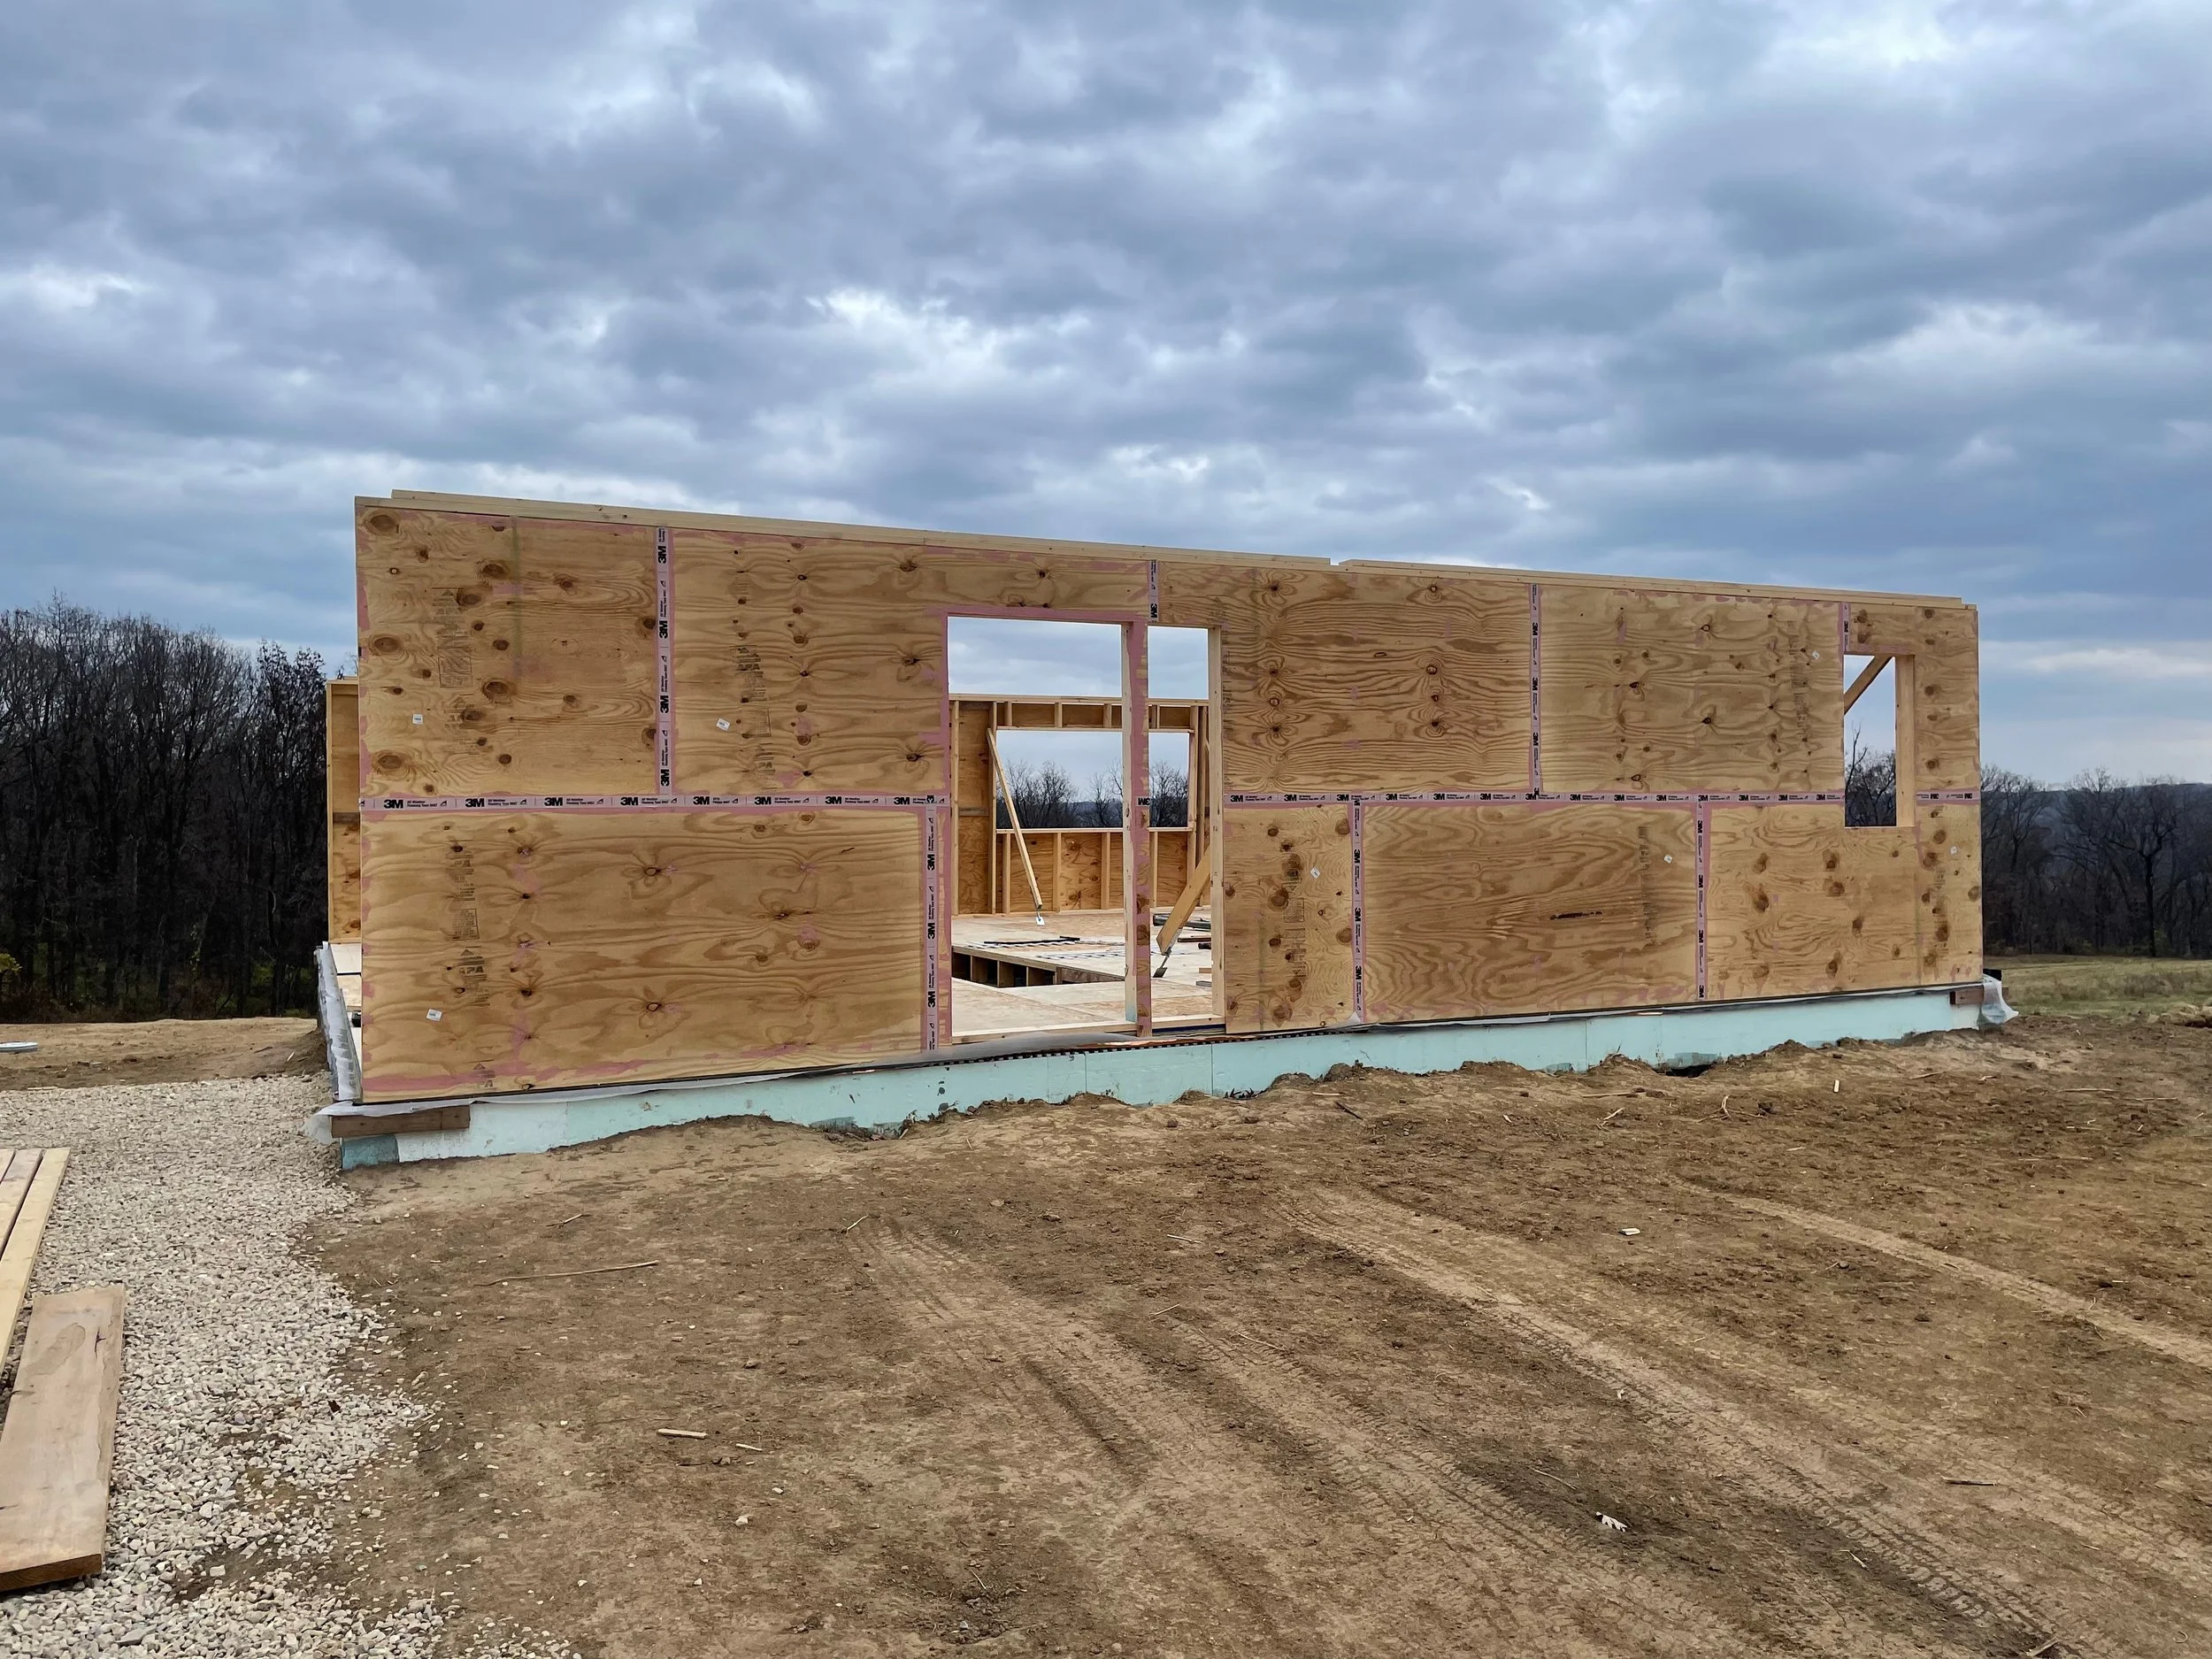


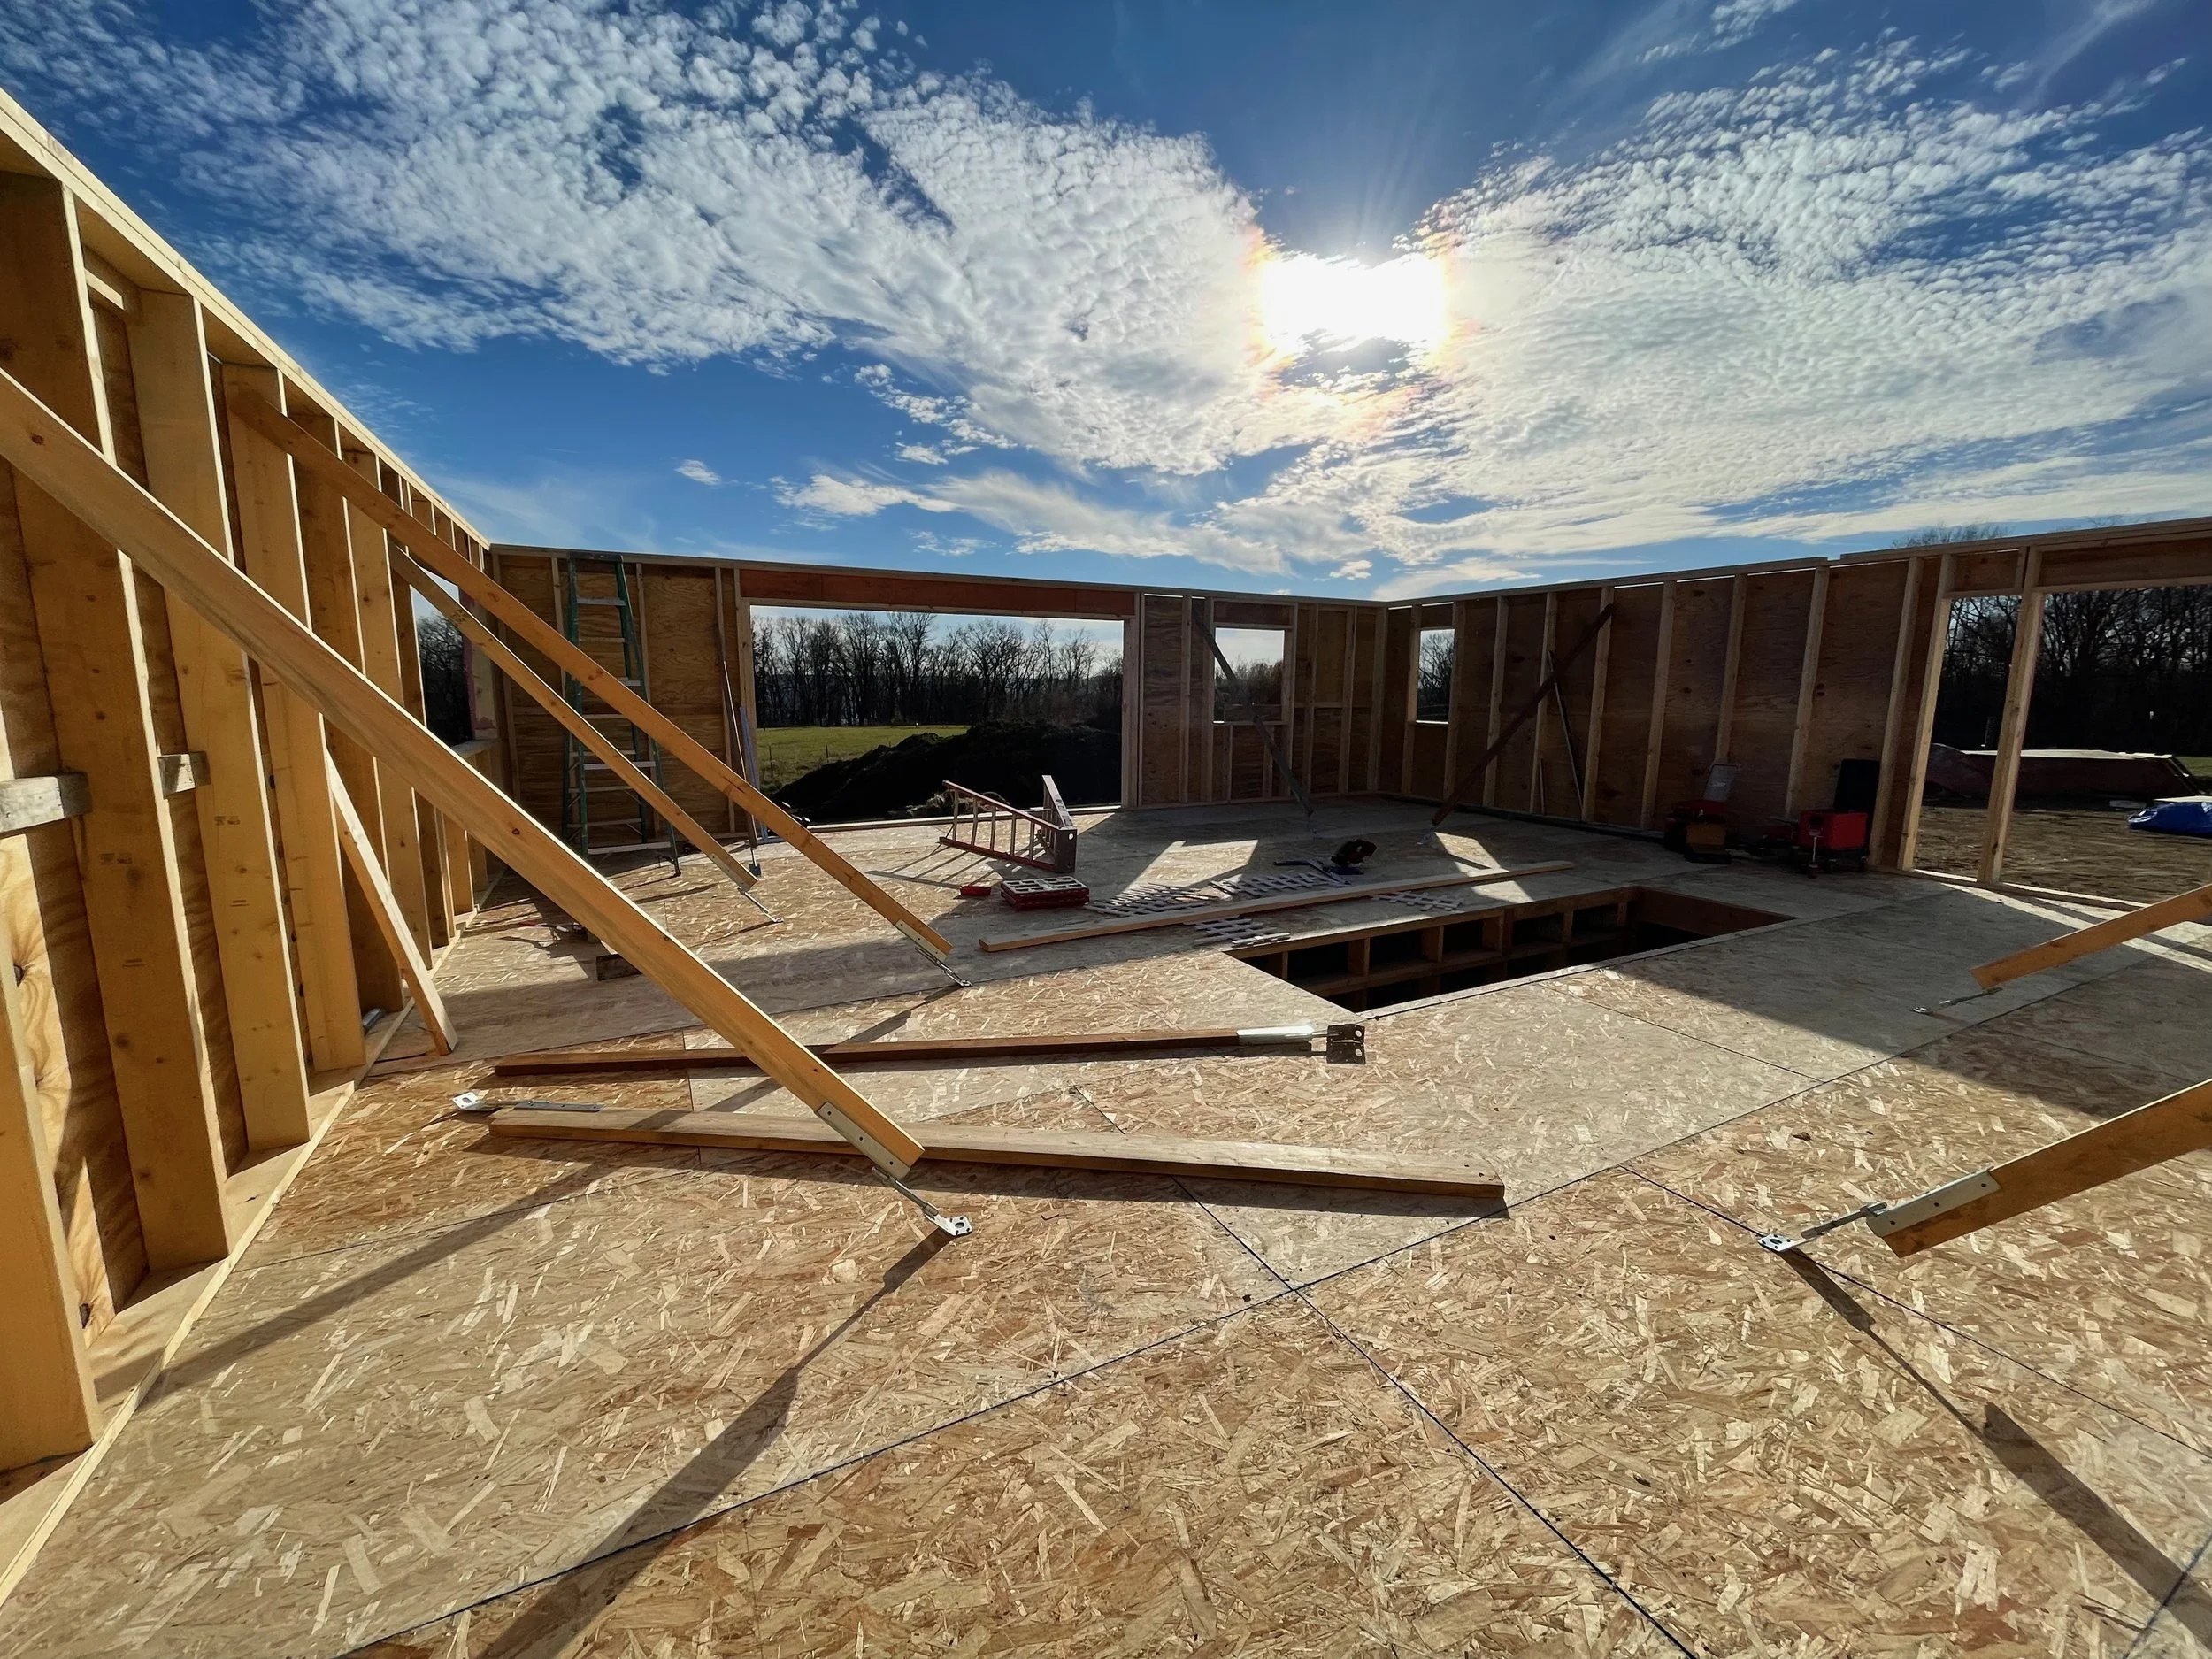
Once all the load-bearing walls on the first floor were up, I installed the 2nd story floor trusses and put on the 2nd floor deck. Snapped some lines and started putting those walls together. Despite the first snows and some freezing rain (always a fun surprise), the second floor went pretty quick. By the end of the November, all the walls were up, and the roof trusses were in.


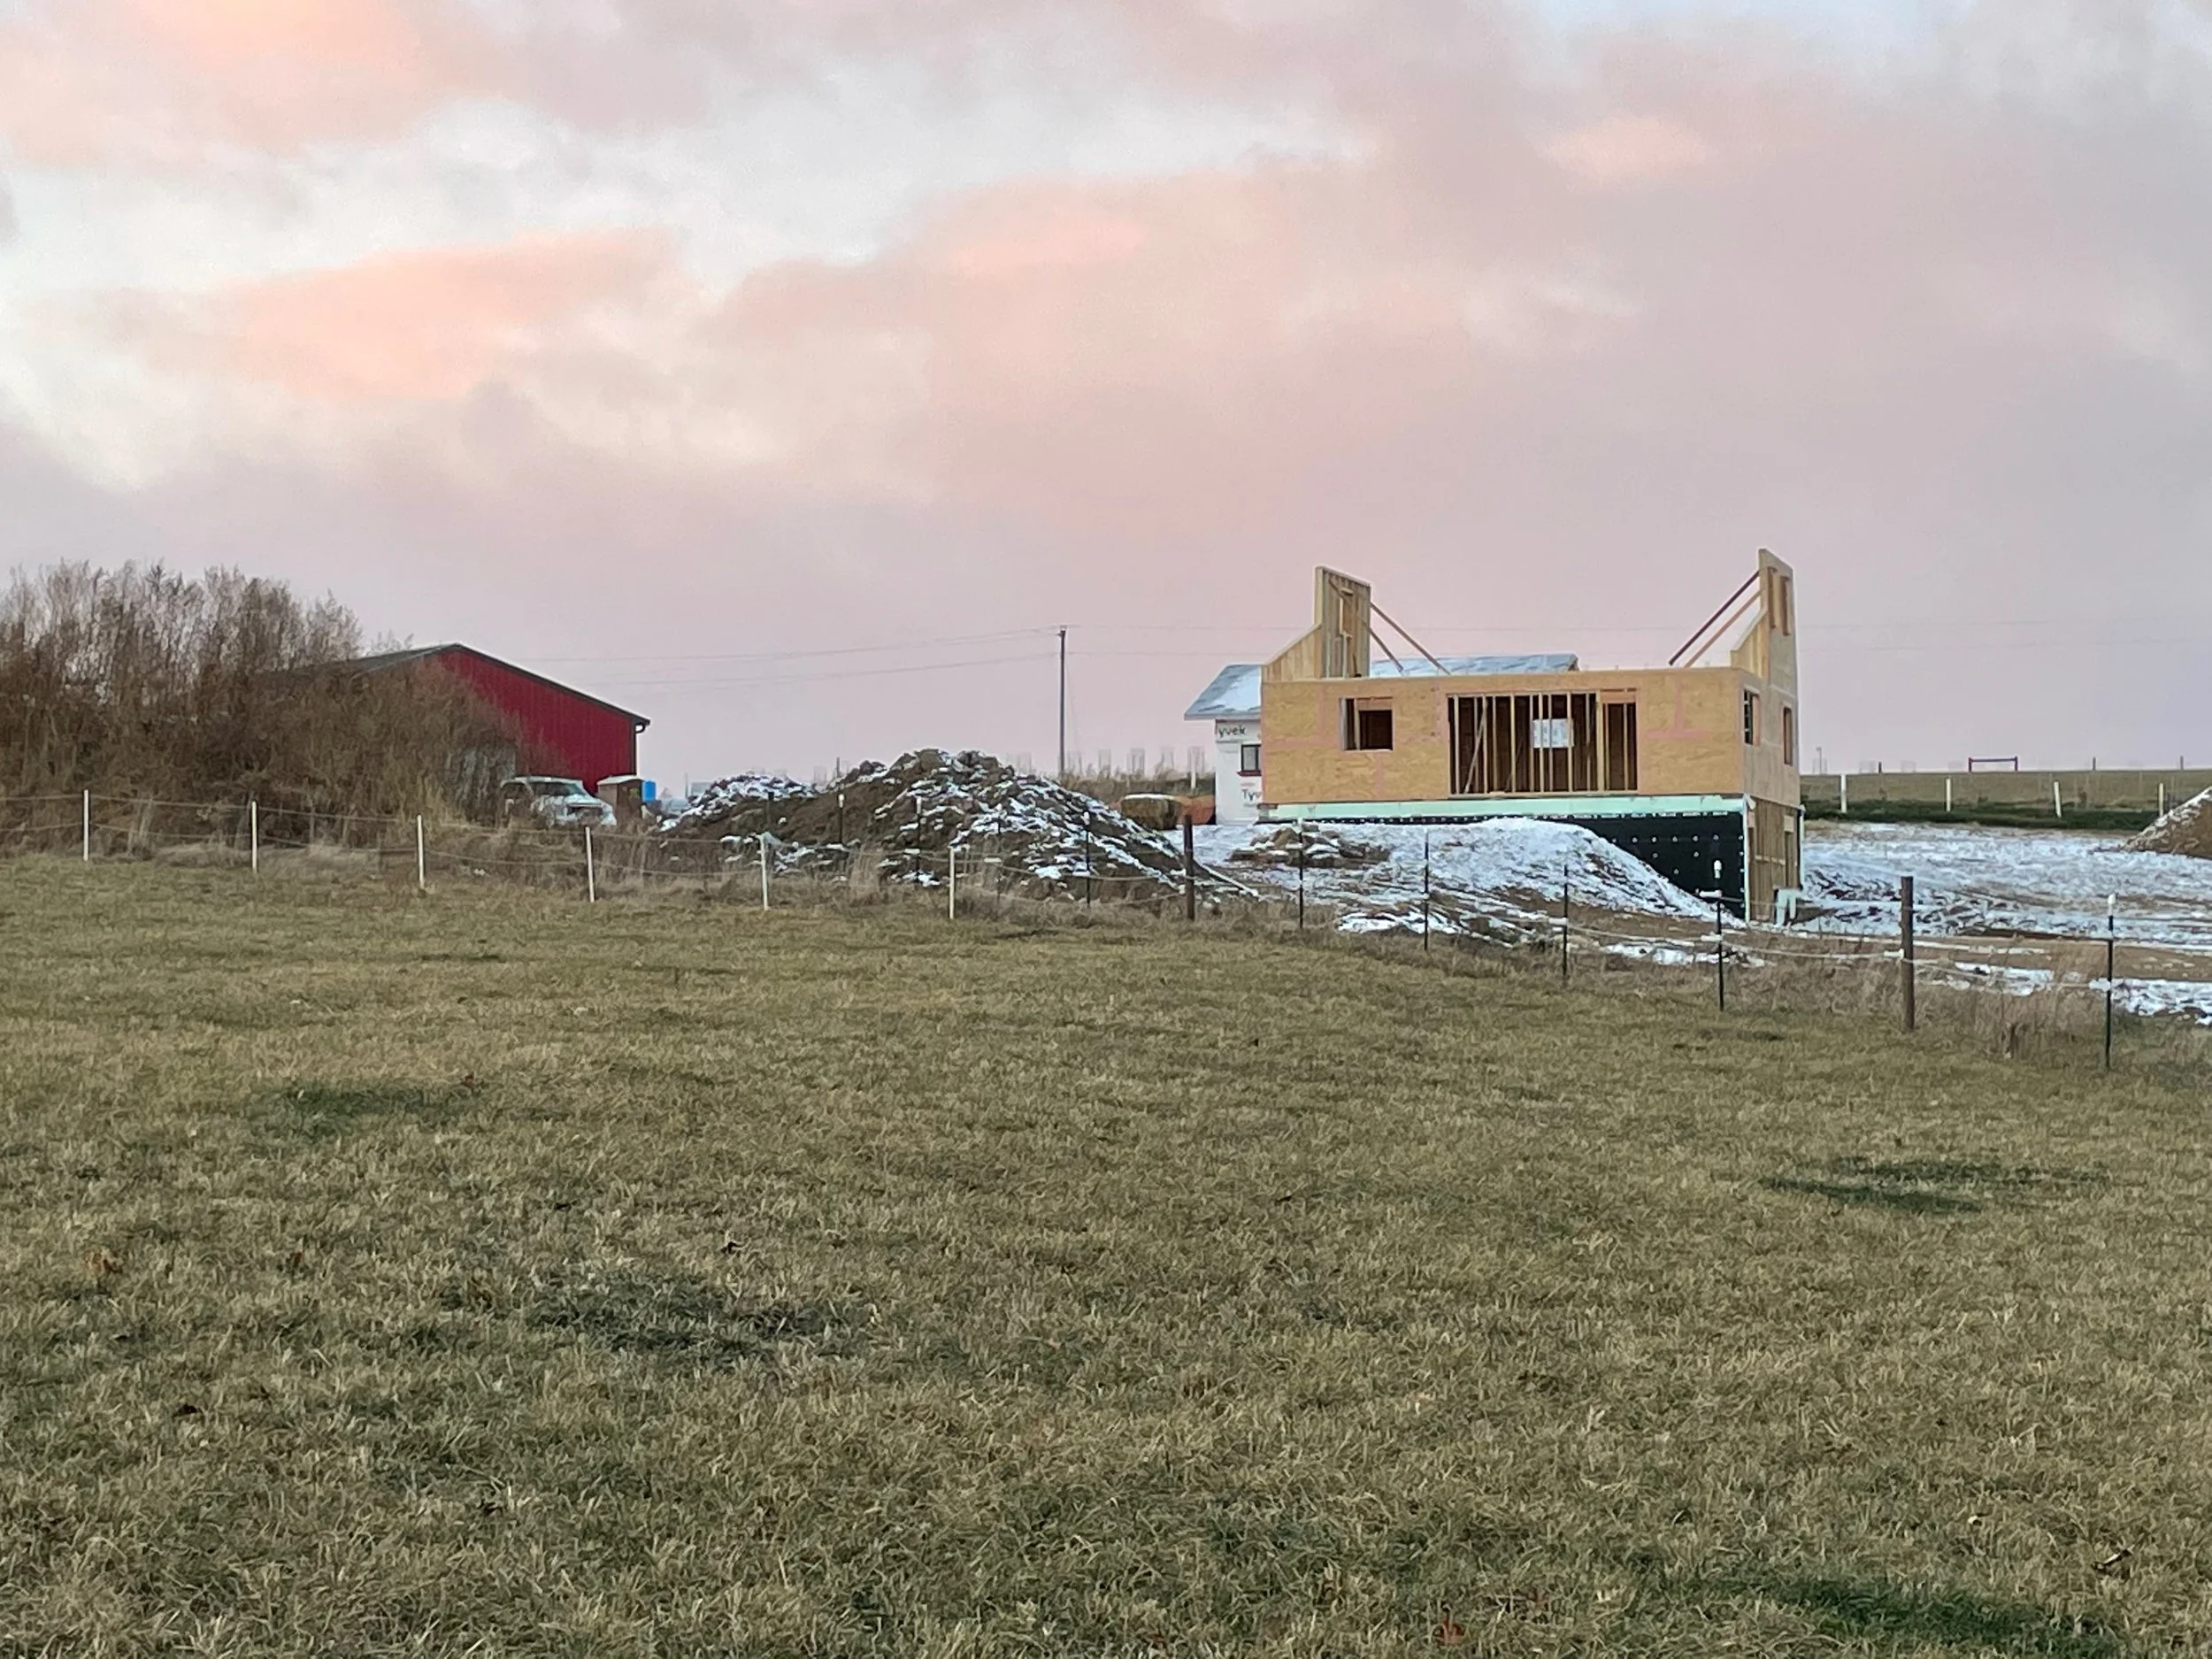

It was during the mad dash to get the roof sheathing on and felted (i.e. waterproof) that the wheels finally came off and winter decided to flex. I will always remember in painful detail the week of December 5th, the Year of Our Lord 2022.
I had been pushing hard to get the roof sheathing on and had just gotten the last row in. It was Tuesday morning and I was ready to start putting on the waterproof underlayment and give our house a lid. Just in time too, as our first BIG snow of the year was on its way Thursday night. I clipped into my safety rope, stepped out onto the roof and immediately fell on my ass and slid down the roof til my rope caught. Over night, a “freezing fog” had settled into the river valley, coating the roof in an invisible skating rink. I couldn’t stand, let alone nail down 80 lb rolls of underlayment. But not to worry! The 38 and sunny forecast that day would make short work of that paper thin layer of ice. I just needed to cool my heels til the fog burned off and the Sun could do its thing. So I did. For the next 48 hours I waited for the temperature to climb above 31 goddamn degrees. By the time it finally got above freezing it was Thursday afternoon and the snows were only a few hours out. All I could do was slap some tarps on the roof and hope for the best. Finally caught a break in the weather and was able to get the felt on late the following week.
We were just able to install our giant 12’ wide patio door on the south wall of our living room before getting hit with more rain, snow, and a 10 day bout of COVID. That coincided with a polar vortex, so small mercies and all that. By the time we finally got back on our feet it was the last week of the year and I started putting up our exterior foam panels, or as I call it, our “outsulation”.
On the subject of small mercies, these panels went up super smooth, and super fast. The model name is “Homega” and are manufactured in Canada by Nudura, the same company that made our ICFs. When our original choice for outsulation panels was unavailable, we called an audible and went with these instead; which turned out to be one of the best decisions of the build.
We’re using the REMOTE wall system for our house. The Residential Exterior Membrane and Outdoor insulation TEchnique (REMOTE) is a high performance design assembly developed by the Cold Climate Housing Research Coalition, in Fairbanks, AK. It’s a system that utilizes an exterior air barrier as well as outsulation, to achieve a balanced thermal envelope that minimizes heat loss and condensation issues. In our case, we need 4” of exterior foam over the whole house to supplement/balance out the dense pack cellulose in our wall cavity. Attaching 4” of foam to the outside of your walls then hanging siding on that surface creates challenges. How do you secure the foam to the framing? How do you secure the siding to the foam? How to you secure your windows and doors to a thick wall covered in foam?
The Homega panels, though developed for retrofitting basement walls with insulation, make some of the problems with REMOTE walls easier to solve. These panels are 4” thick, shiplapped (meaning they have edges that overlap adjacent panels) and have 1x3 furring strips molded into the foam itself. This meant that I was able to simply mark the stud locations on the foam, and drive a 6” screw, through the furring strip, through the foam, through the plywood sheathing and into the stud a good inch and a half. We painted the panels with a liquid-applied water-resistive barrier (think Tyvek house-wrap, but paintable) and combined with the shiplapped seams we’ve got a temporary waterproof barrier that’ll get us through the winter, til we can start putting up siding next spring.
Once the Homega panels were all up, I was able to apply flashing to the openings and get ready to install our windows and doors. Flashing refers to any material that supplements siding and roofing and helps direct water away from the building interior. You usually see it around openings, chimneys, and roof-to-wall connections. Usually it’s metal, plastic or heavy duty tape. In our case, we’re using a liquid applied product that I’ve fallen in love with. You apply it with a gun, just like caulk, then use a knife or scraper to spread it into a thin continuous layer. It cures to a flexible, rubberized surface that sheds water like a boss. It also smells faintly of citrus for some reason.
The windows were a breeze to install. We went with Marvin’s “Essential” line of windows. Not cheap, but not the priciest either. They’re a solid product with a great U-value for the price. We installed them as “outies”and they attach to a 1x3 frame that’s secured through the foam to the framing. The doors are “innies” and sit recessed in the opening, flush with the interior of the wall. They’re all 36” wide Therma-Tru doors (the best on the market) that we’ve been buying second hand over the last couple years and storing until we were ready to install. That’s how we’ve been able to get like $7,500 worth of doors for a little over $1,500. The durability and extra thermal performance were well worth the trouble.
So that’s it. It’s the middle of January and we’re dried in. It took me almost exactly 1,000 hours to get to this point.
Next up I’ll start framing our stairs and interior walls, hook up our electrical panel and have our HVAC subs come out and install our air source heat pumps (AKA mini-splits). Then we’ll get the lids on our ceilings, and do a blower door test to see how well we did on air sealing our house.
But first, I’m gonna take a power nap.


